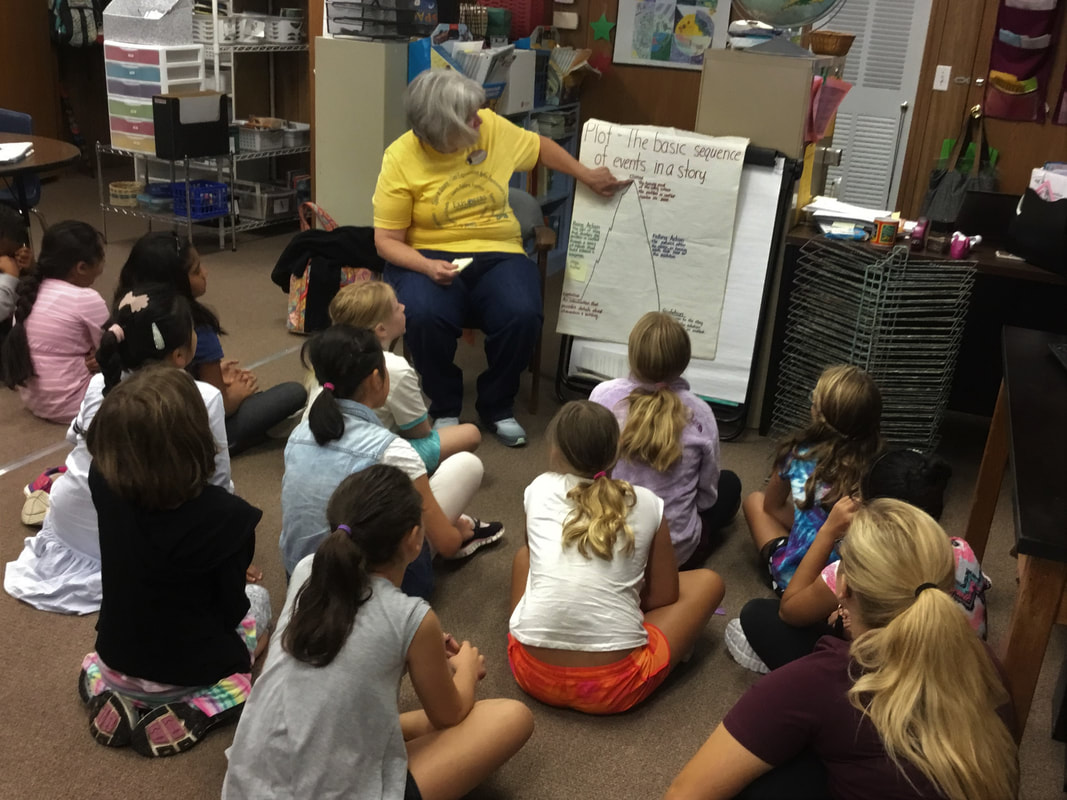
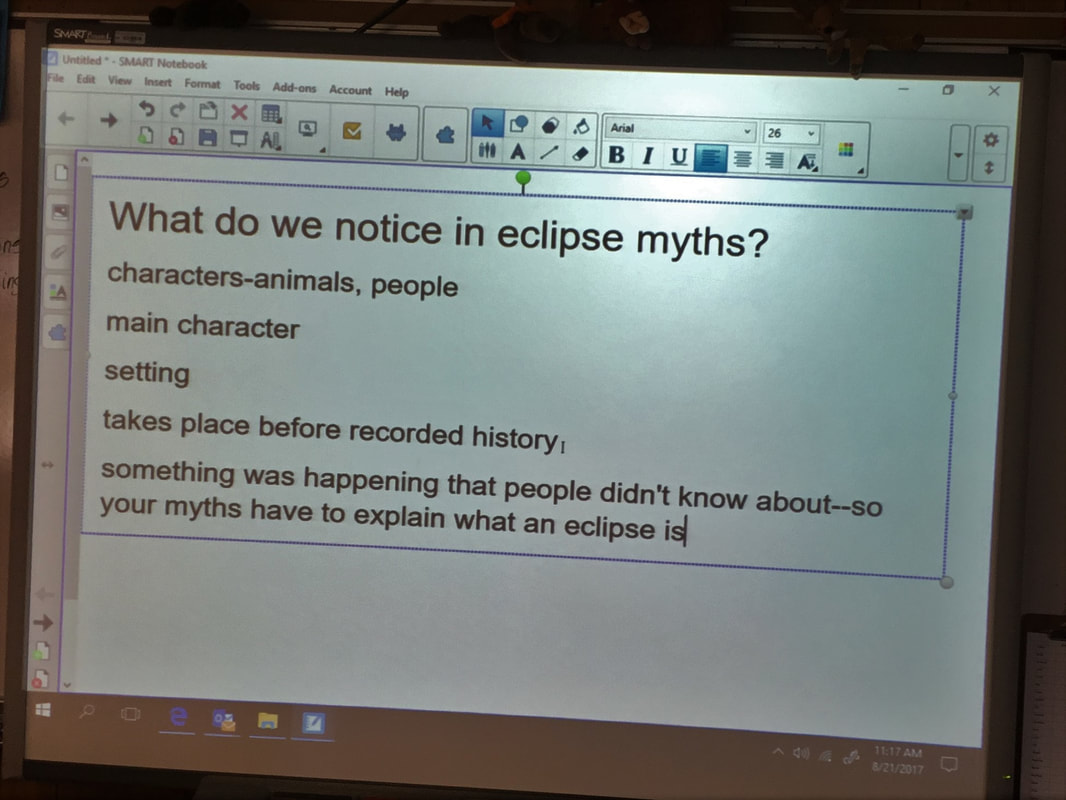
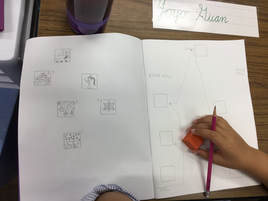
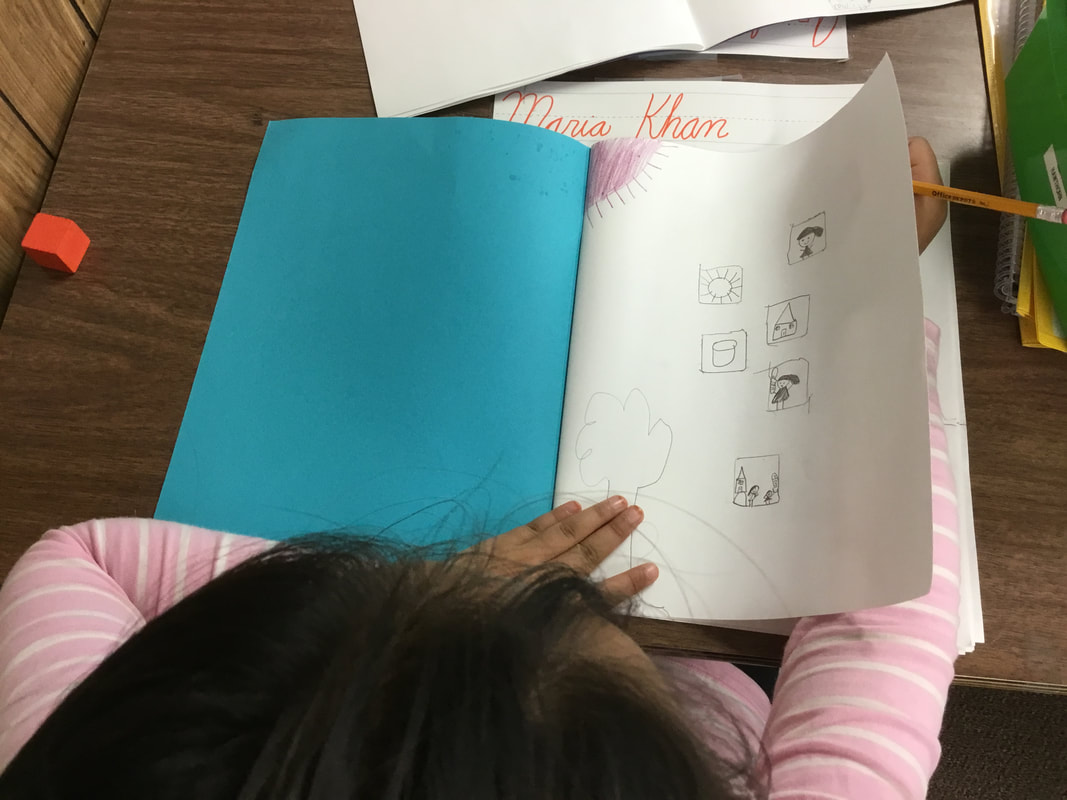
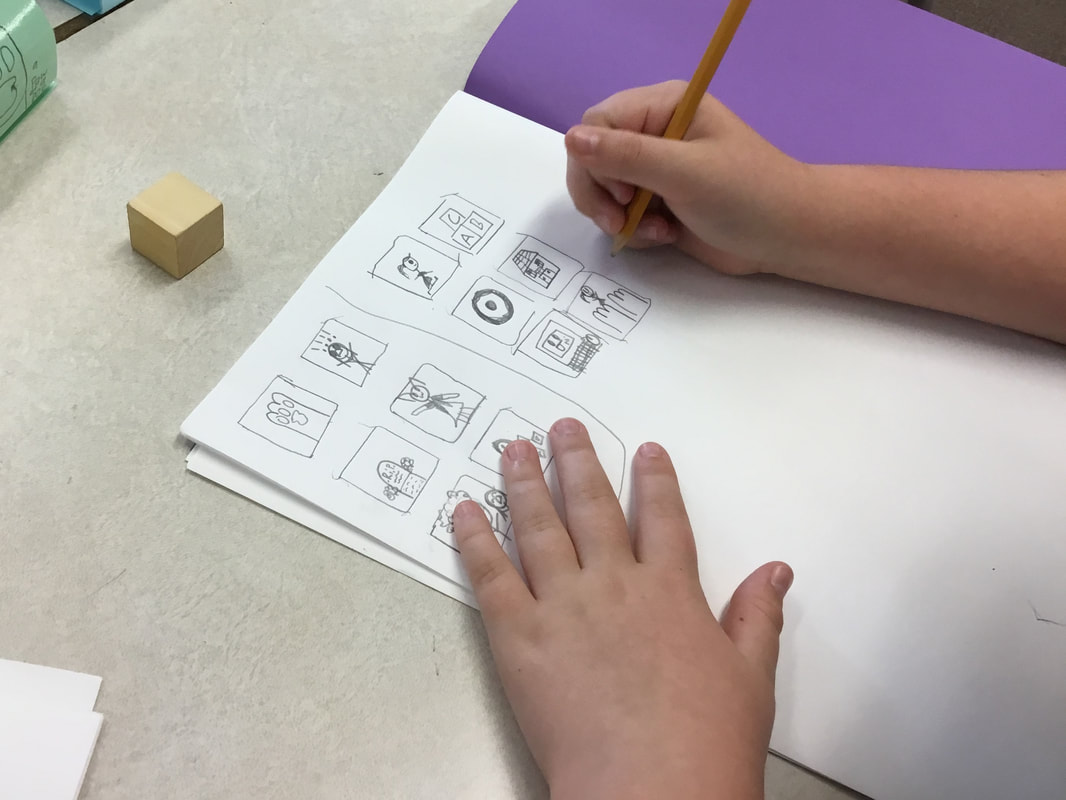
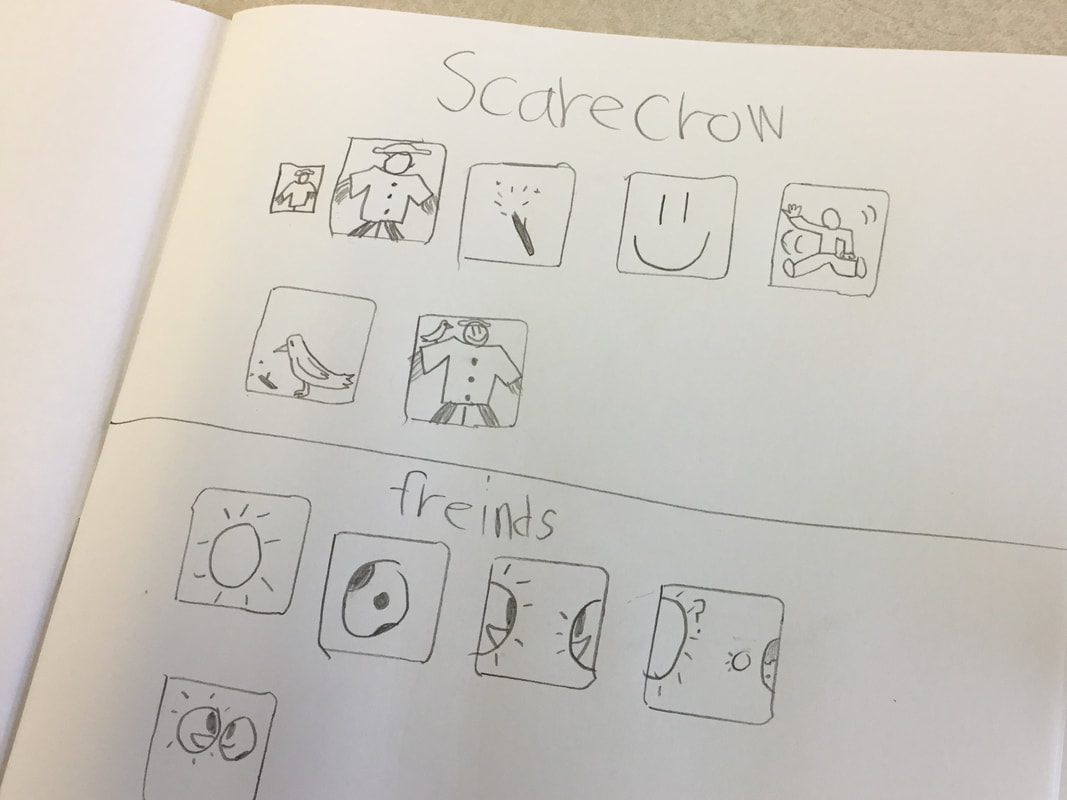
 Converting the events of the Eclipse Day into a story Arc relating to the shared experiences of the large group. After referencing The Three Billy Goats Gruff as a story with an Introduction, Rising Action, Climax, Falling Action, and Resolution extending that story arc to document the eclipse myths the fourth graders read in small groups and recorded on cube sized sketches (inspired by story dice).
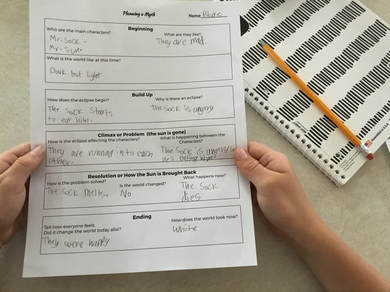
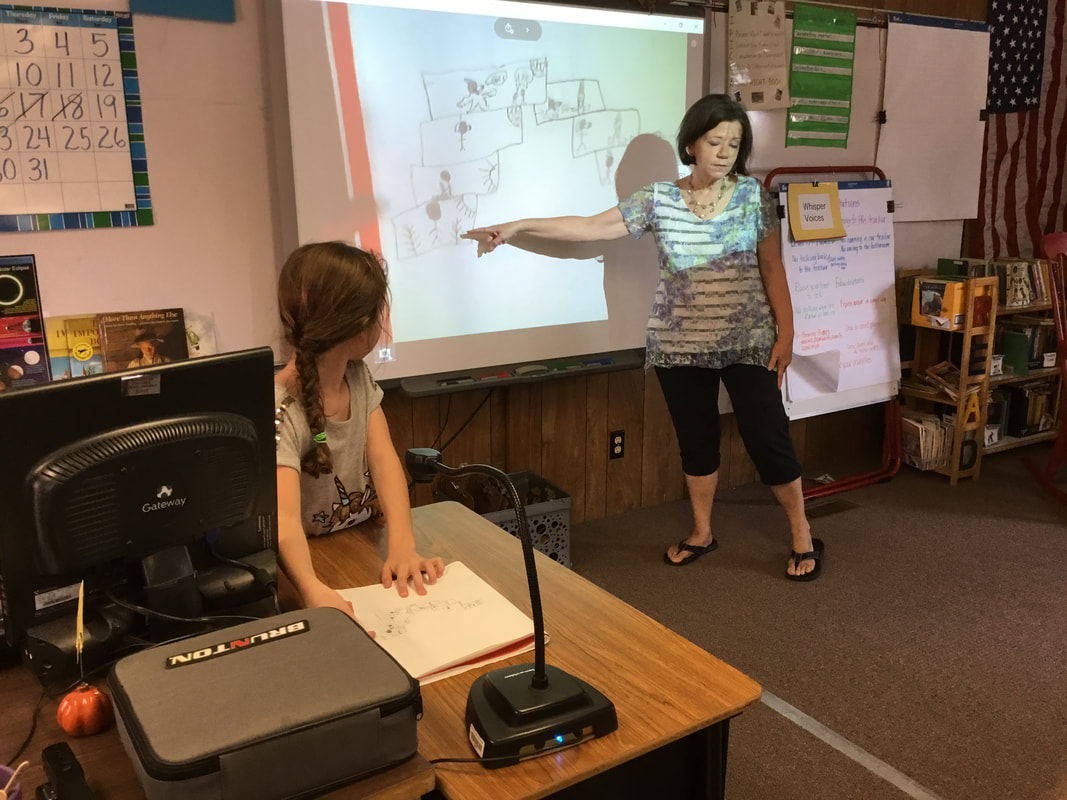
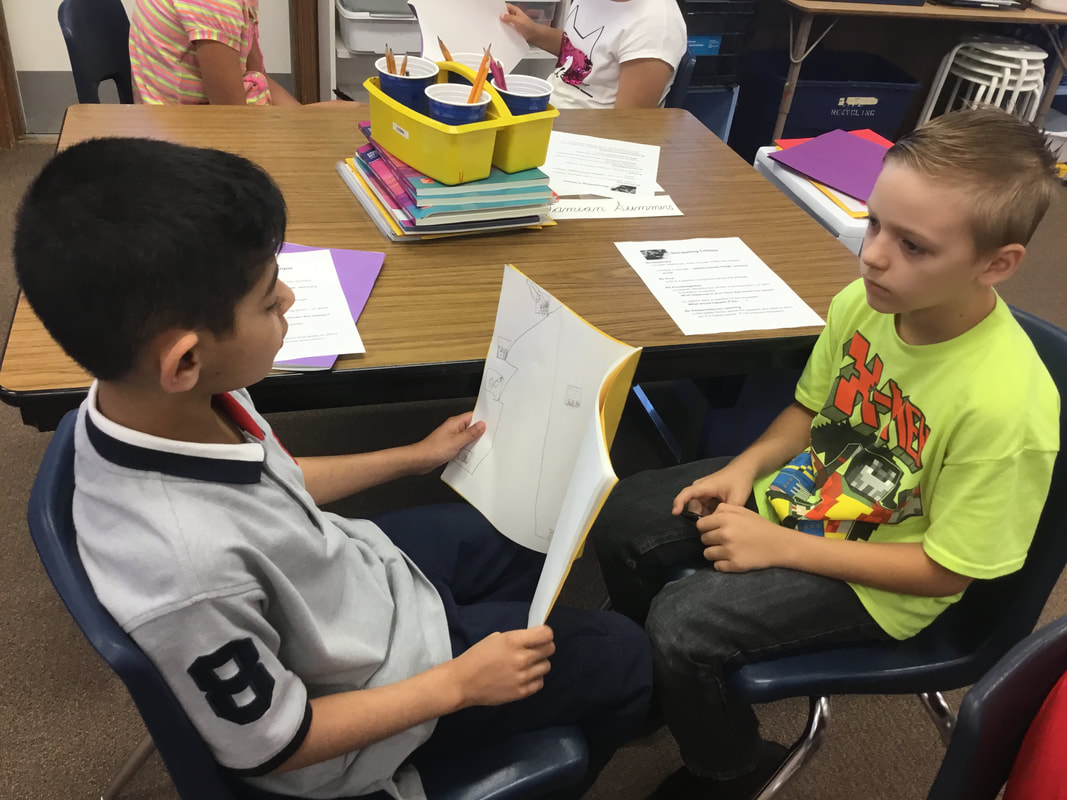
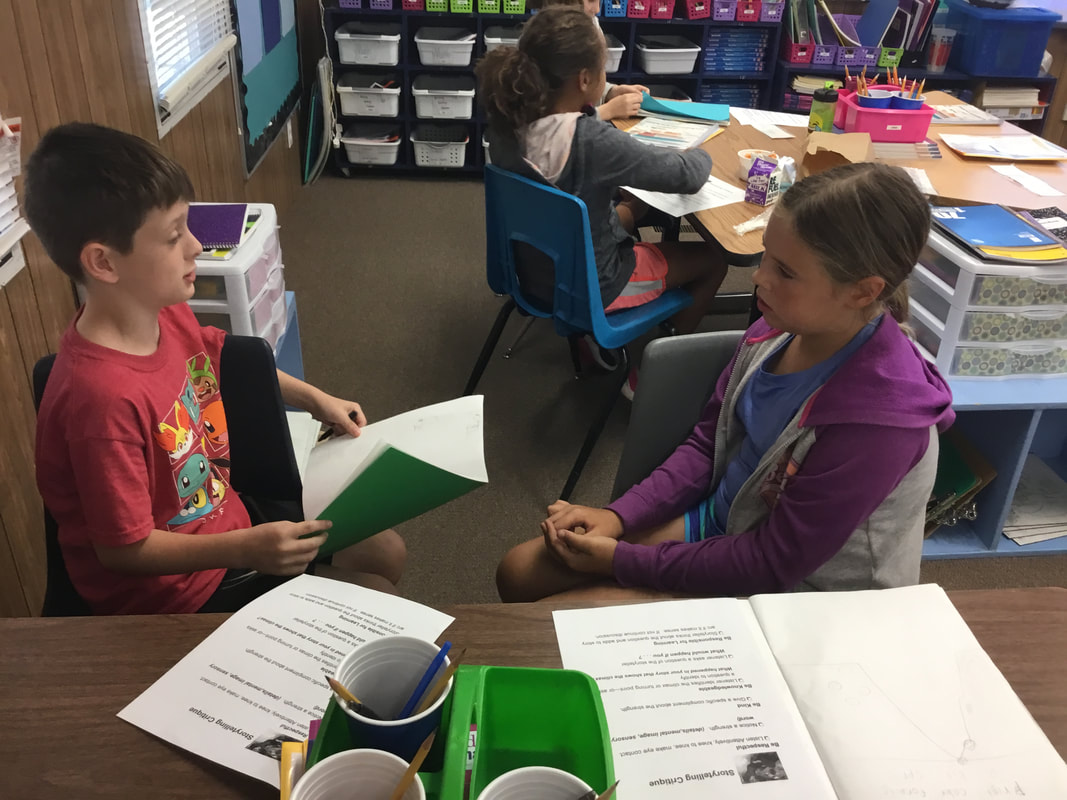
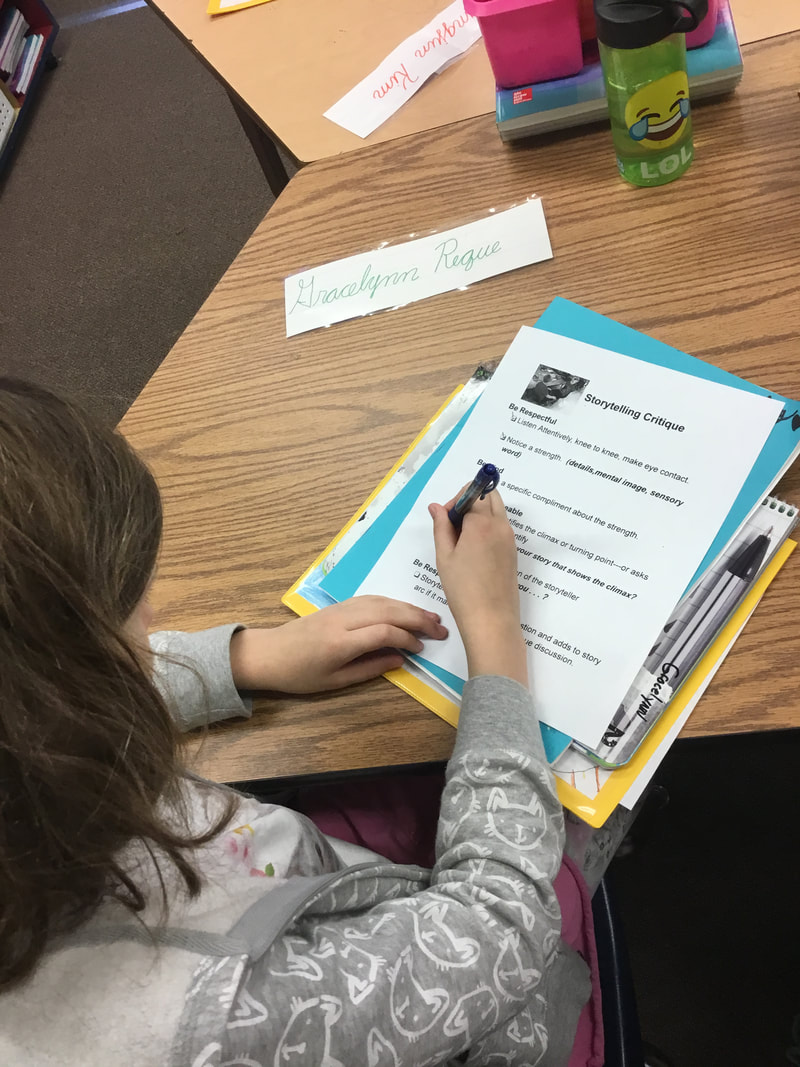
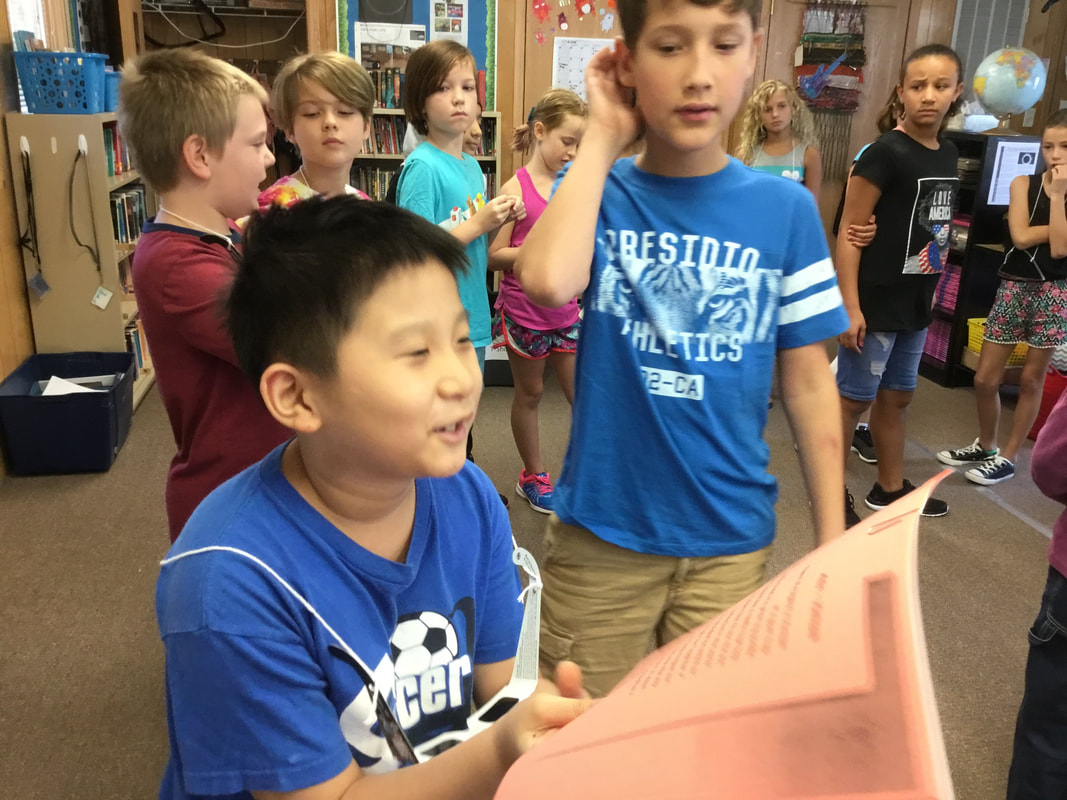
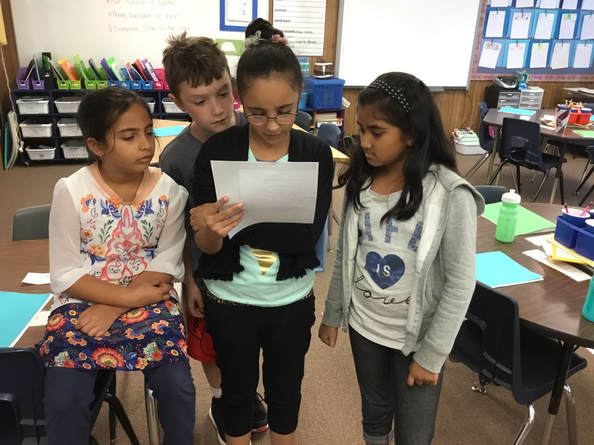
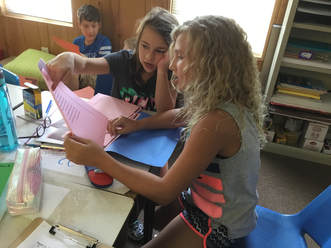
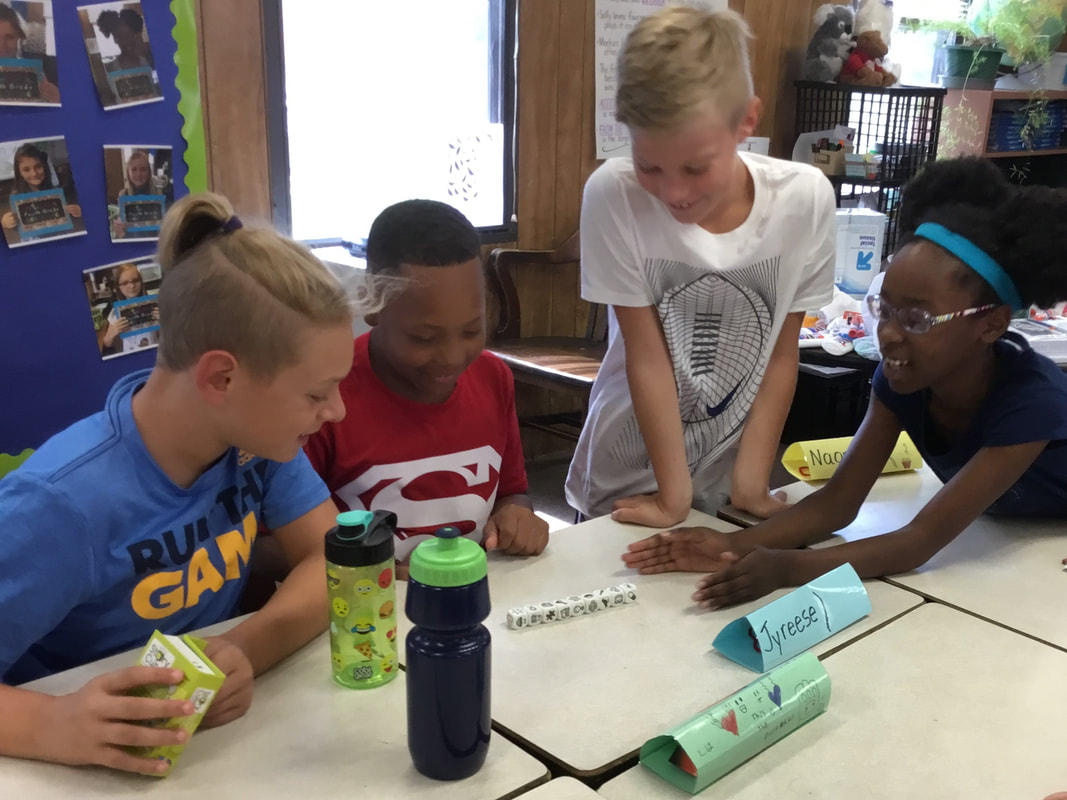
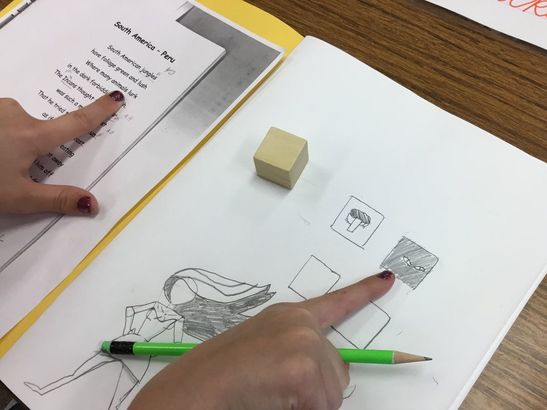
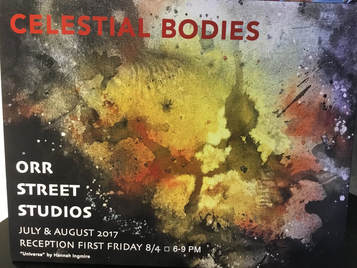 The students took their sketch books along with their knowledge of eclipse myths with them to Orr St. Studios to experience an exhibition called, Celestial Bodies. 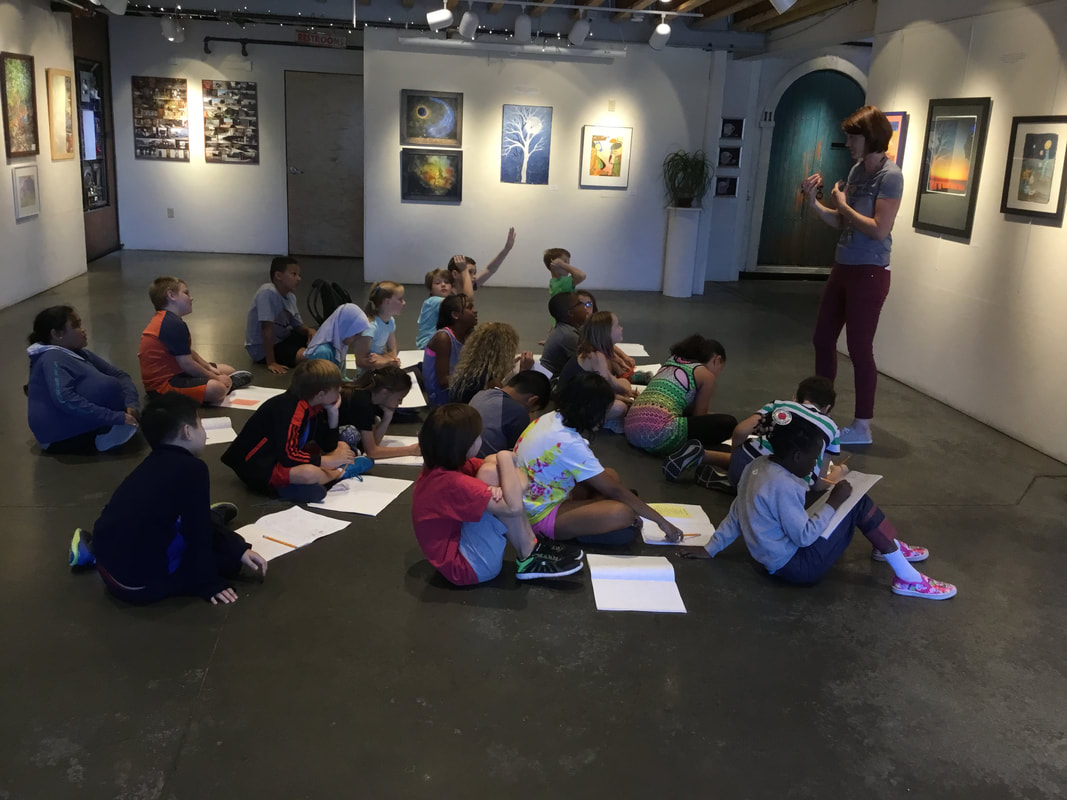 After going to the gallery and being inspired by the pieces of art in the Celestial Bodies Show coupled with the Eclipse experience and Eclipse Myths, the fourth graders told their own stories using story arcs and thumbnail sketches as if they were story cubes. Some students wrote out their stories using more complete narrative. They practiced telling each other the stories and used a guide for listening and giving feedback as critique. 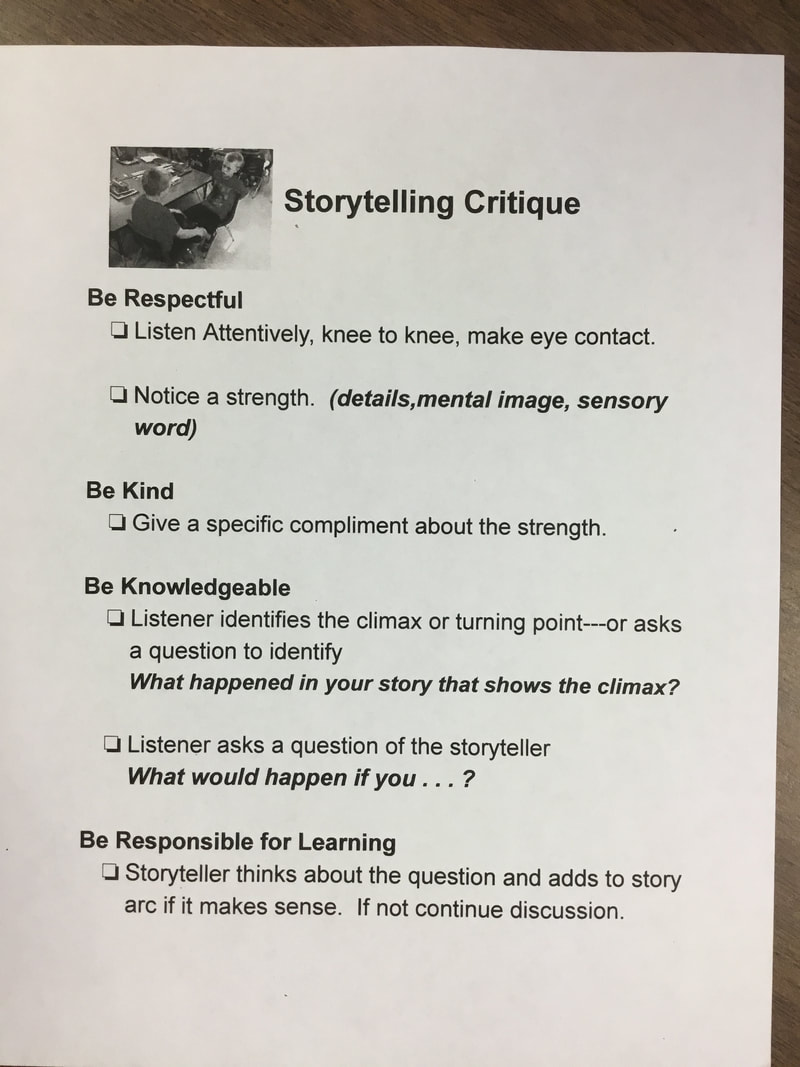
0 Comments
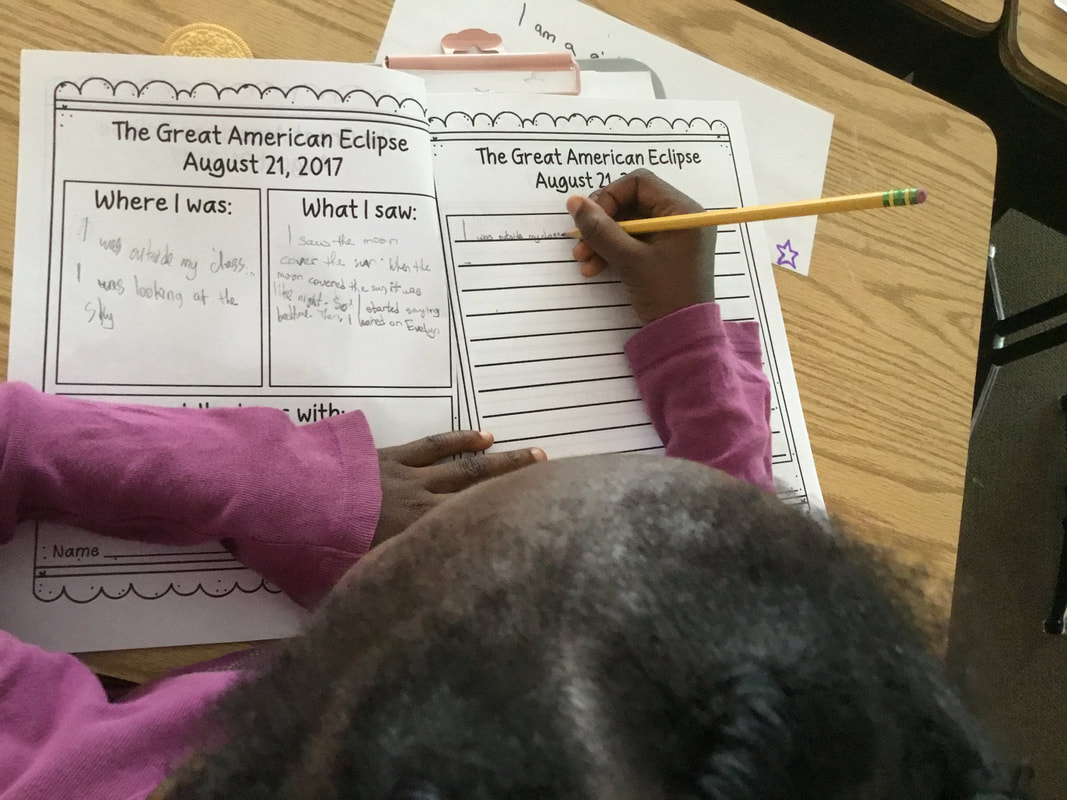
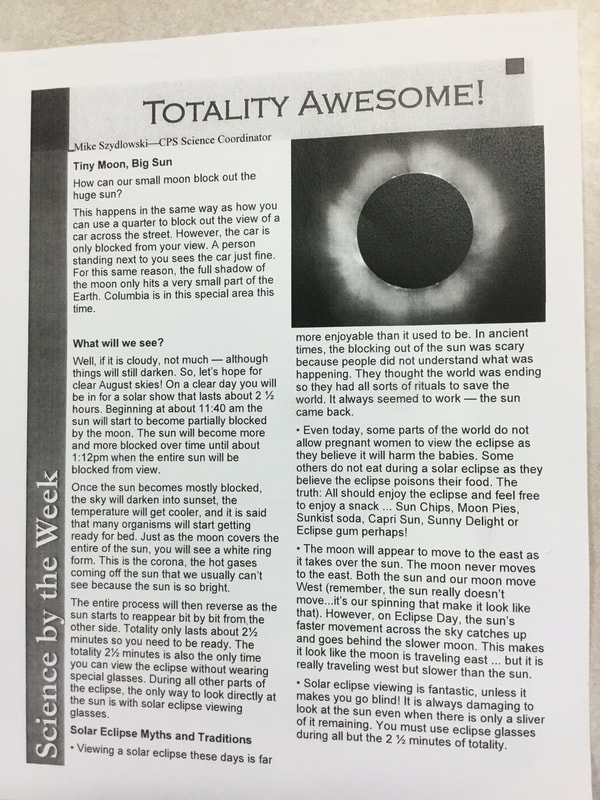
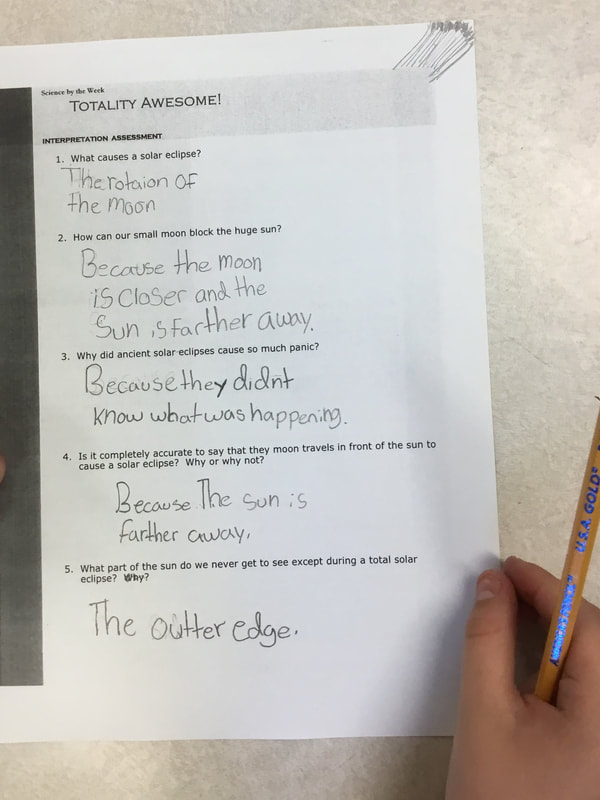
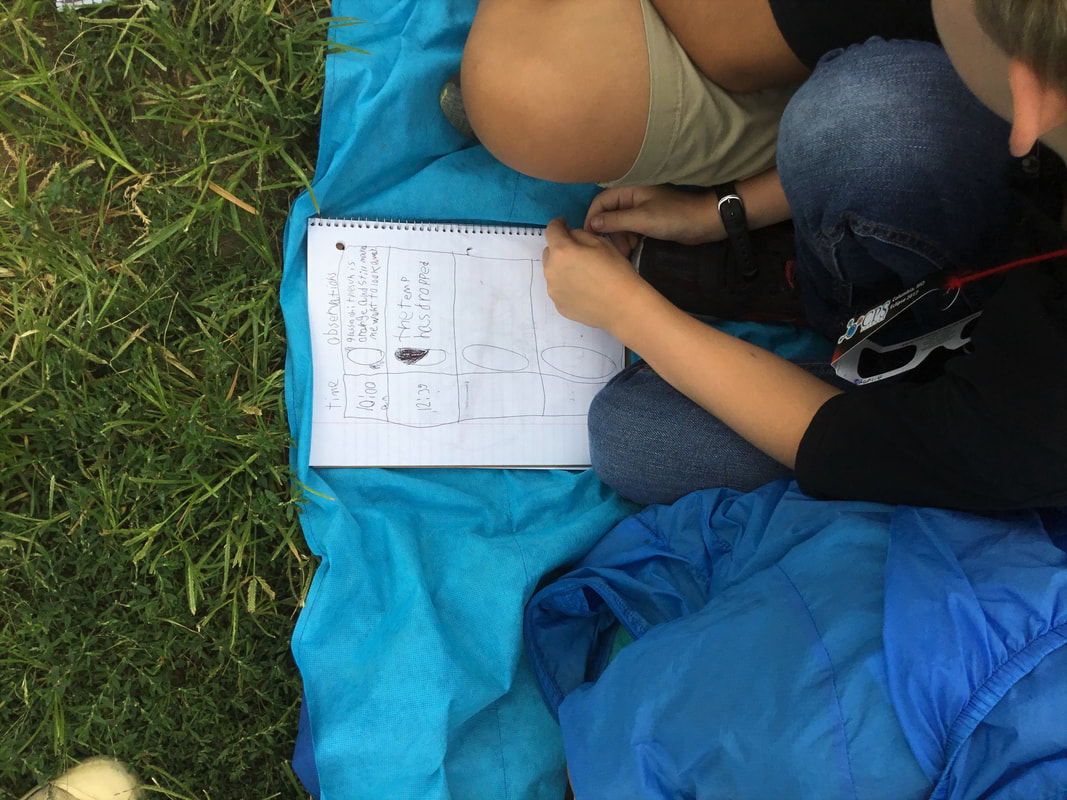
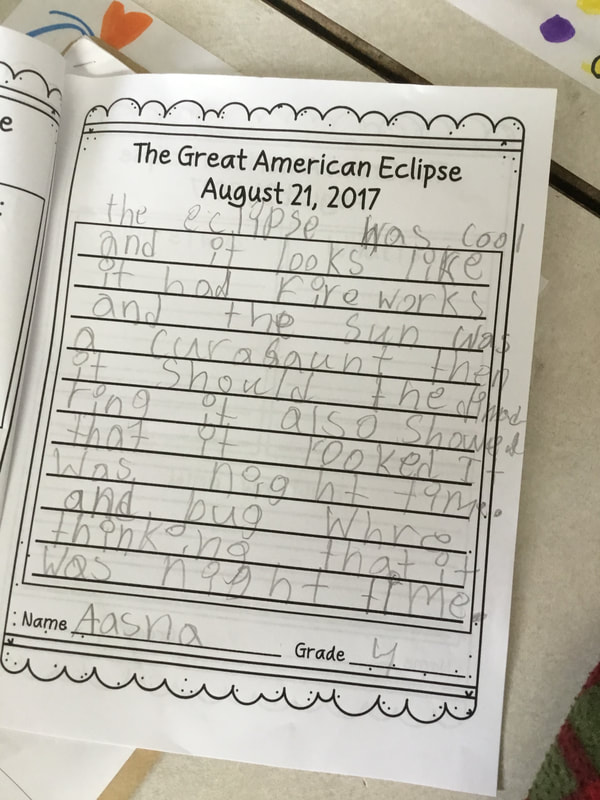
  Myth vs. Science--observational data collecting: 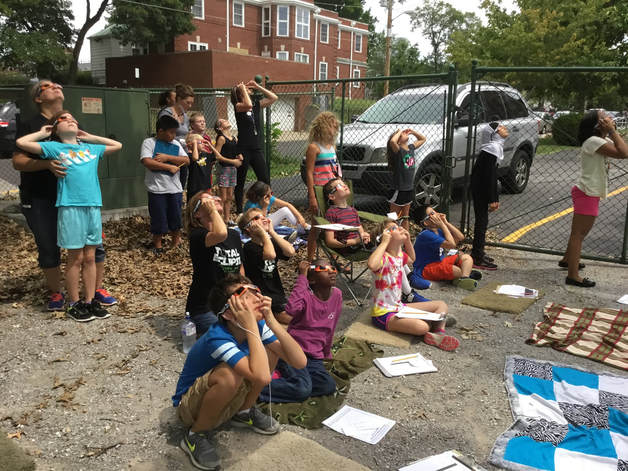 Celebrations/Reflections:
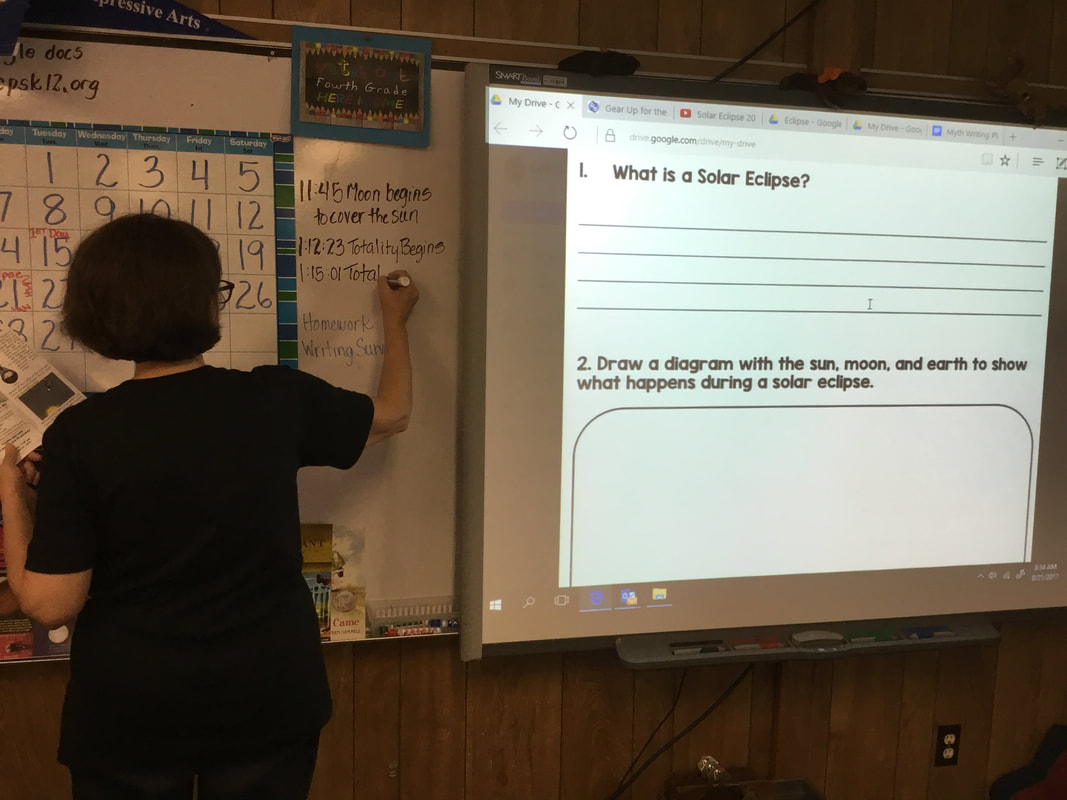
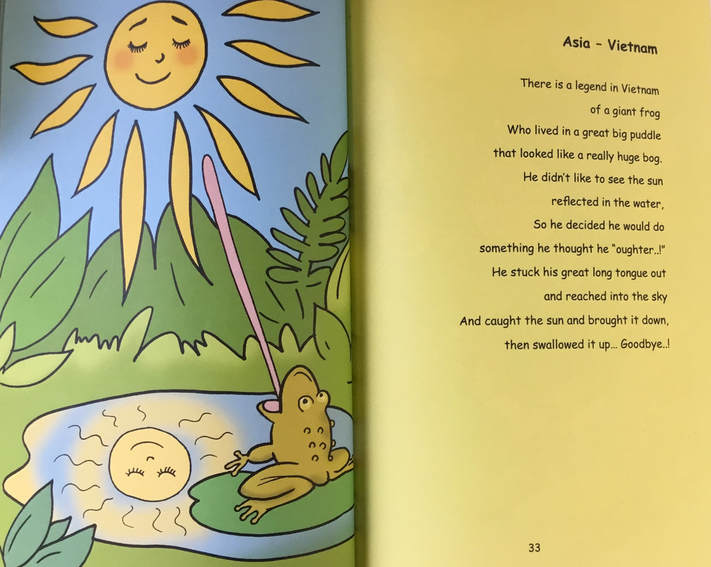
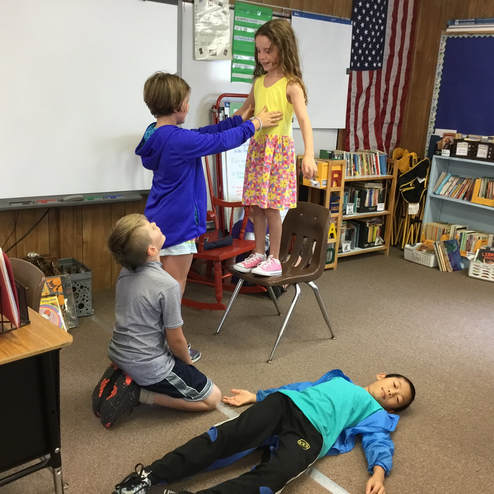
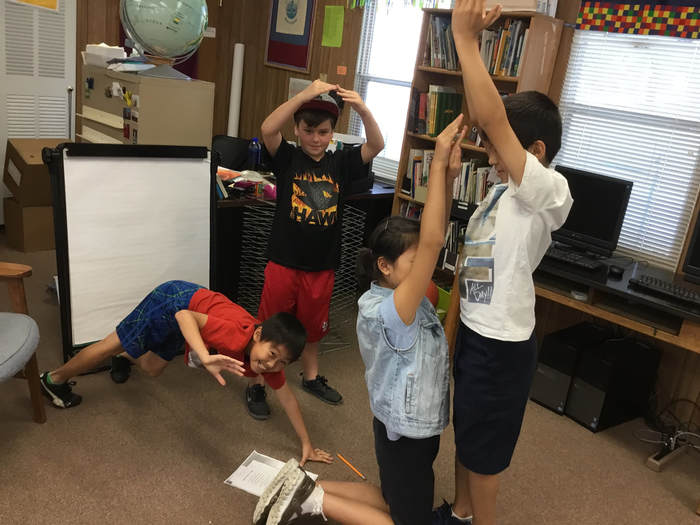
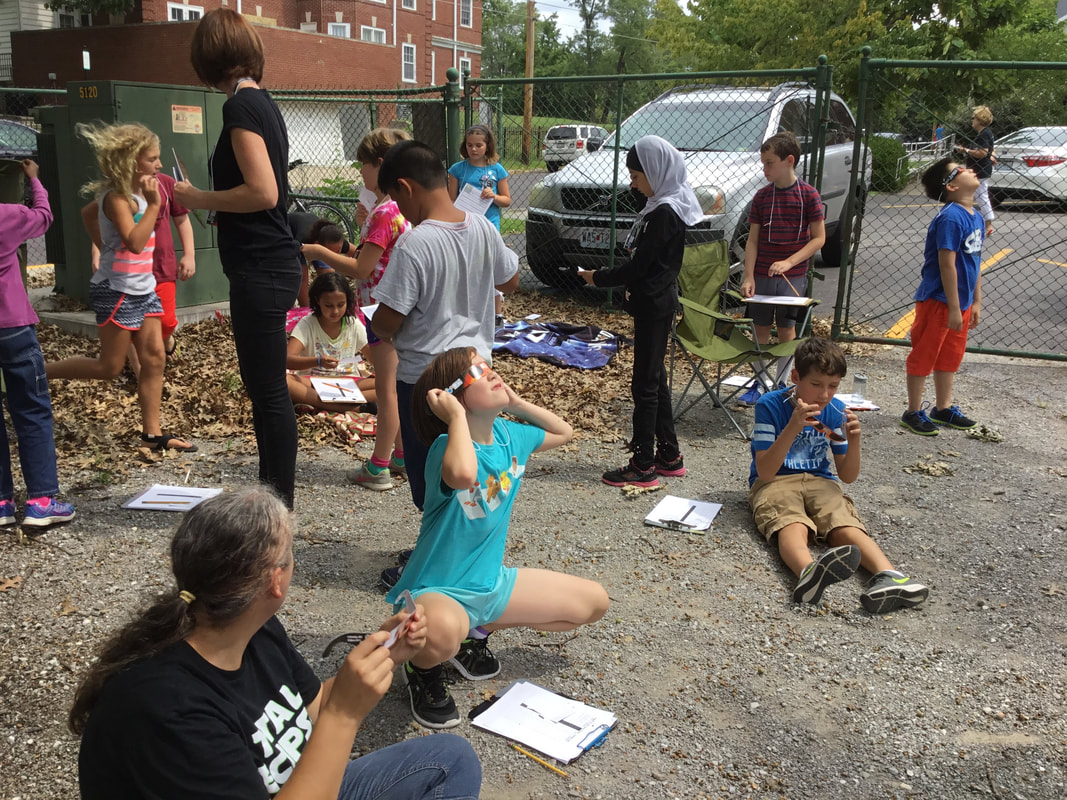
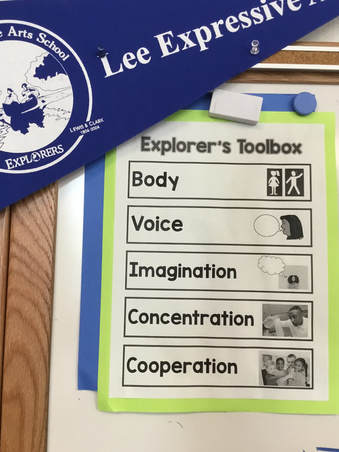
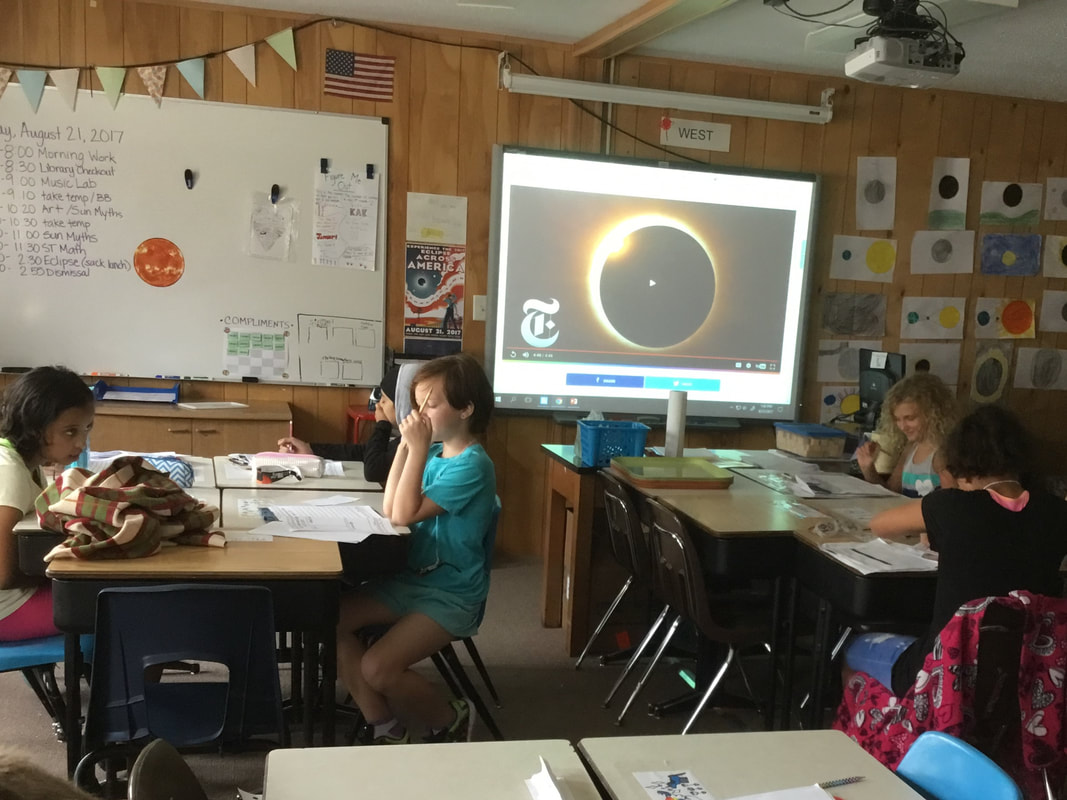  Fourth grade is getting ready for a total eclipse of the sun on August 21. Ms. Elder, Mrs. Norris and Ms Koonse are using this historical happening to experience a path of totality with learning through the arts. 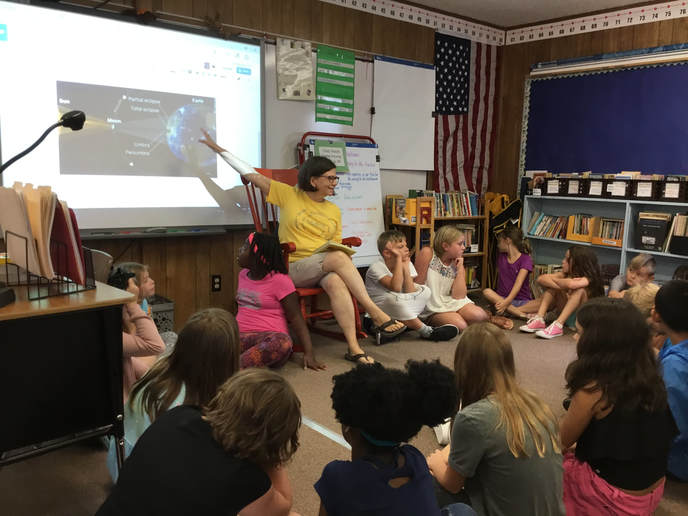 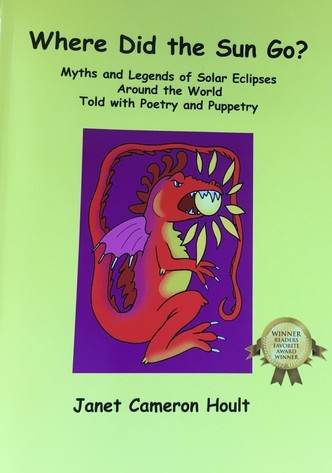 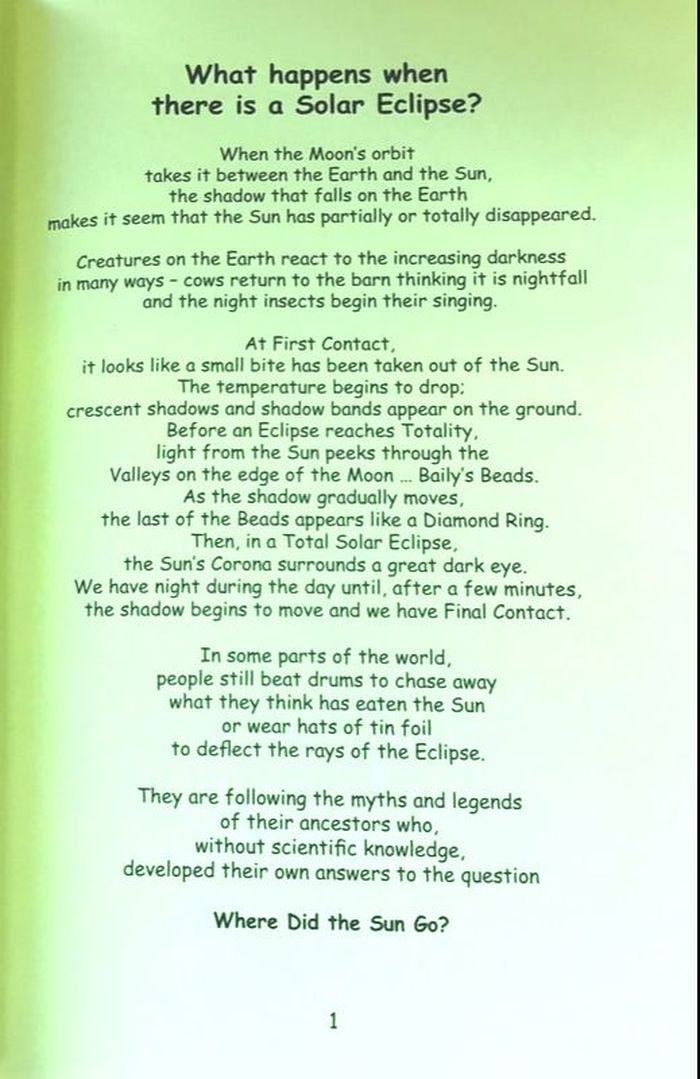 Where Did the Sun Go? provided a multicultural experience for the children to look at the ways for comprehending the solar eclipses from around the world through a mythical perspective prior to scientific means of understanding. They experienced these stories through read-alouds and delved into them by creating tableaux in small groups and then notating them through the art of drawing symbols that would appear on story dice. If you want to know more about story dice, check out this blog. Click here.  Embodying the myth during the read aloud by being archers shooting at the sun or growling dogs biting the sun invites students to use their Explorer's Toolbox to integrate their learning through the arts by using their Body Voice Imagination Concentration
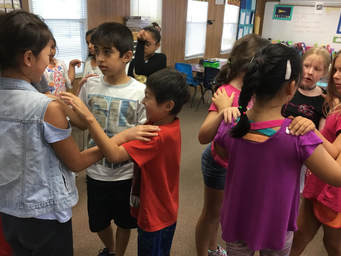
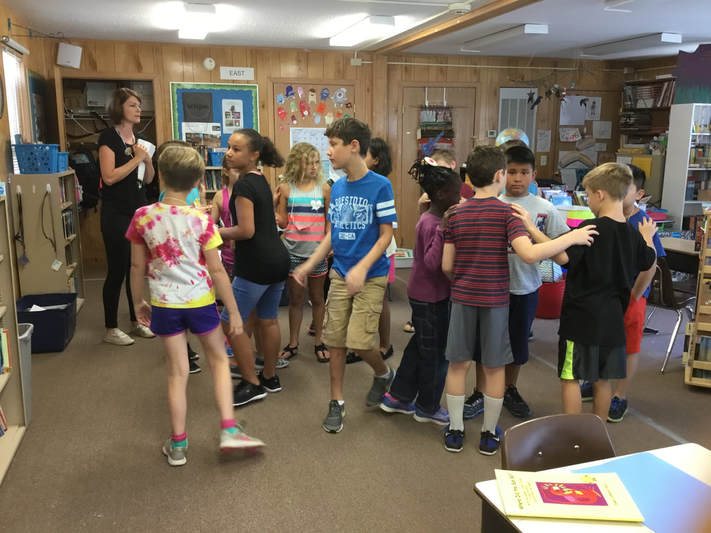 For the fourth graders to form their groups for tableaux they played the cooperation challenge. 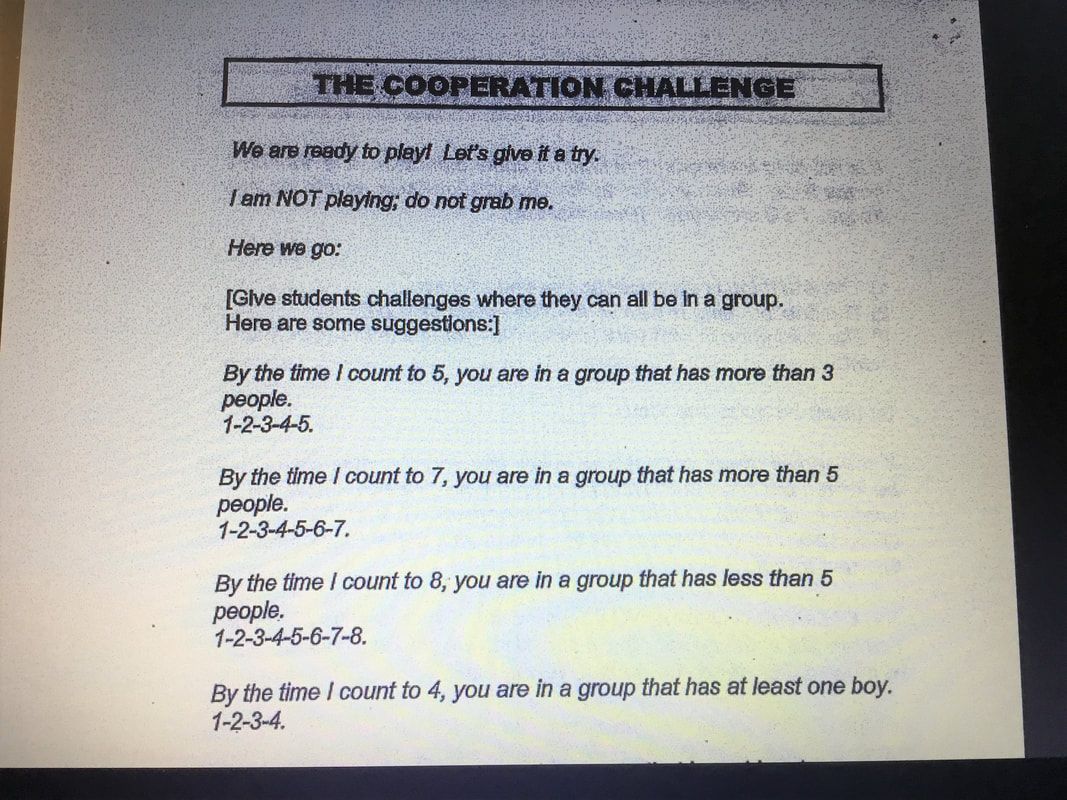
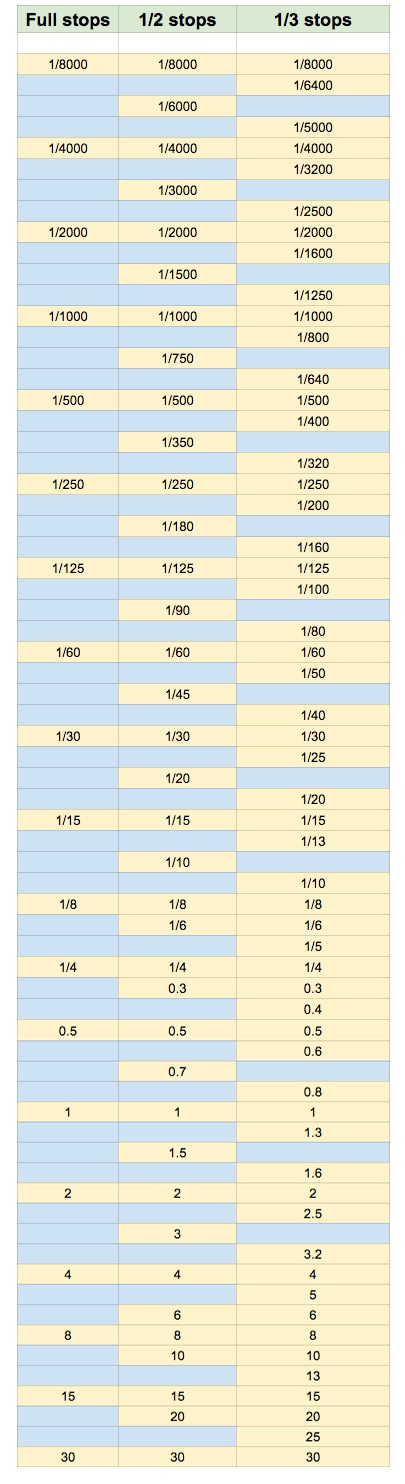
 You can utilize the shutter speed to play with the motion in a photograph. Slower shutters will capture movement in action (Things will start to blur if they move during exposure) or you can freeze something mid-action (When you can sharply and clearly see an object that was in motion during exposure). 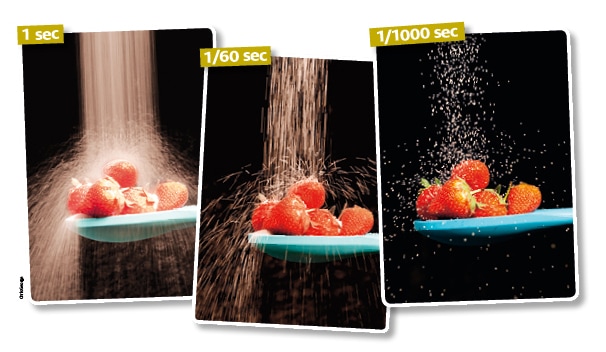 
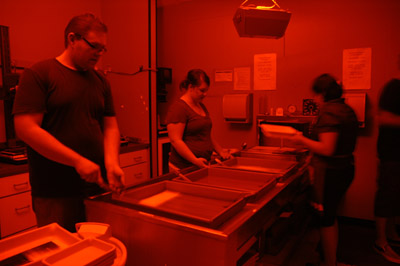
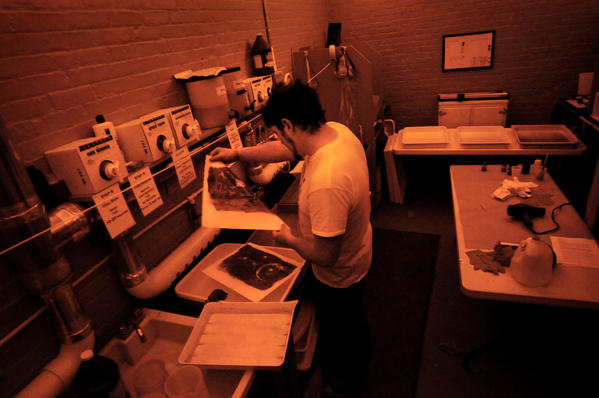
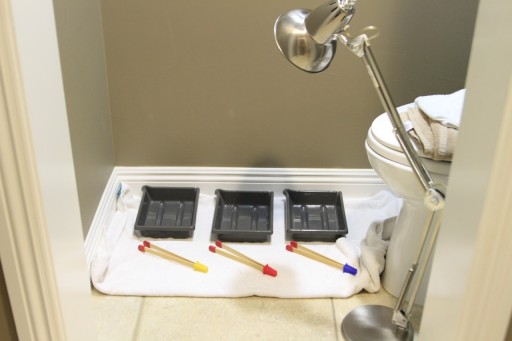
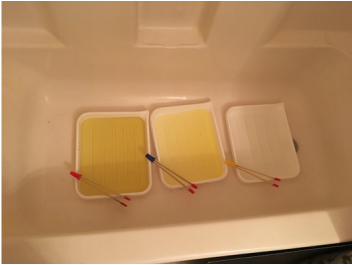
To develop light sensitive paper you need a light safe and well ventilated room, developing chemicals, and a place to dry the paper. Darkrooms come in all shapes and sizes depending on where they are, who is using them, and how much developing is needed. Below are a few examples of some darkrooms.
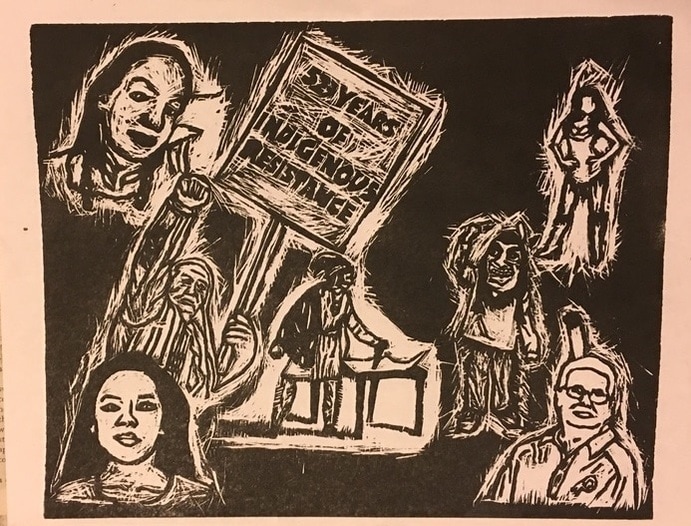
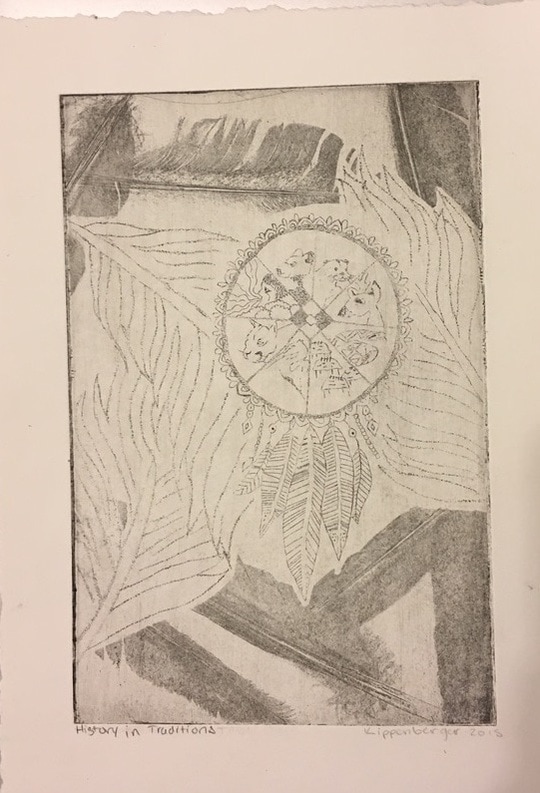
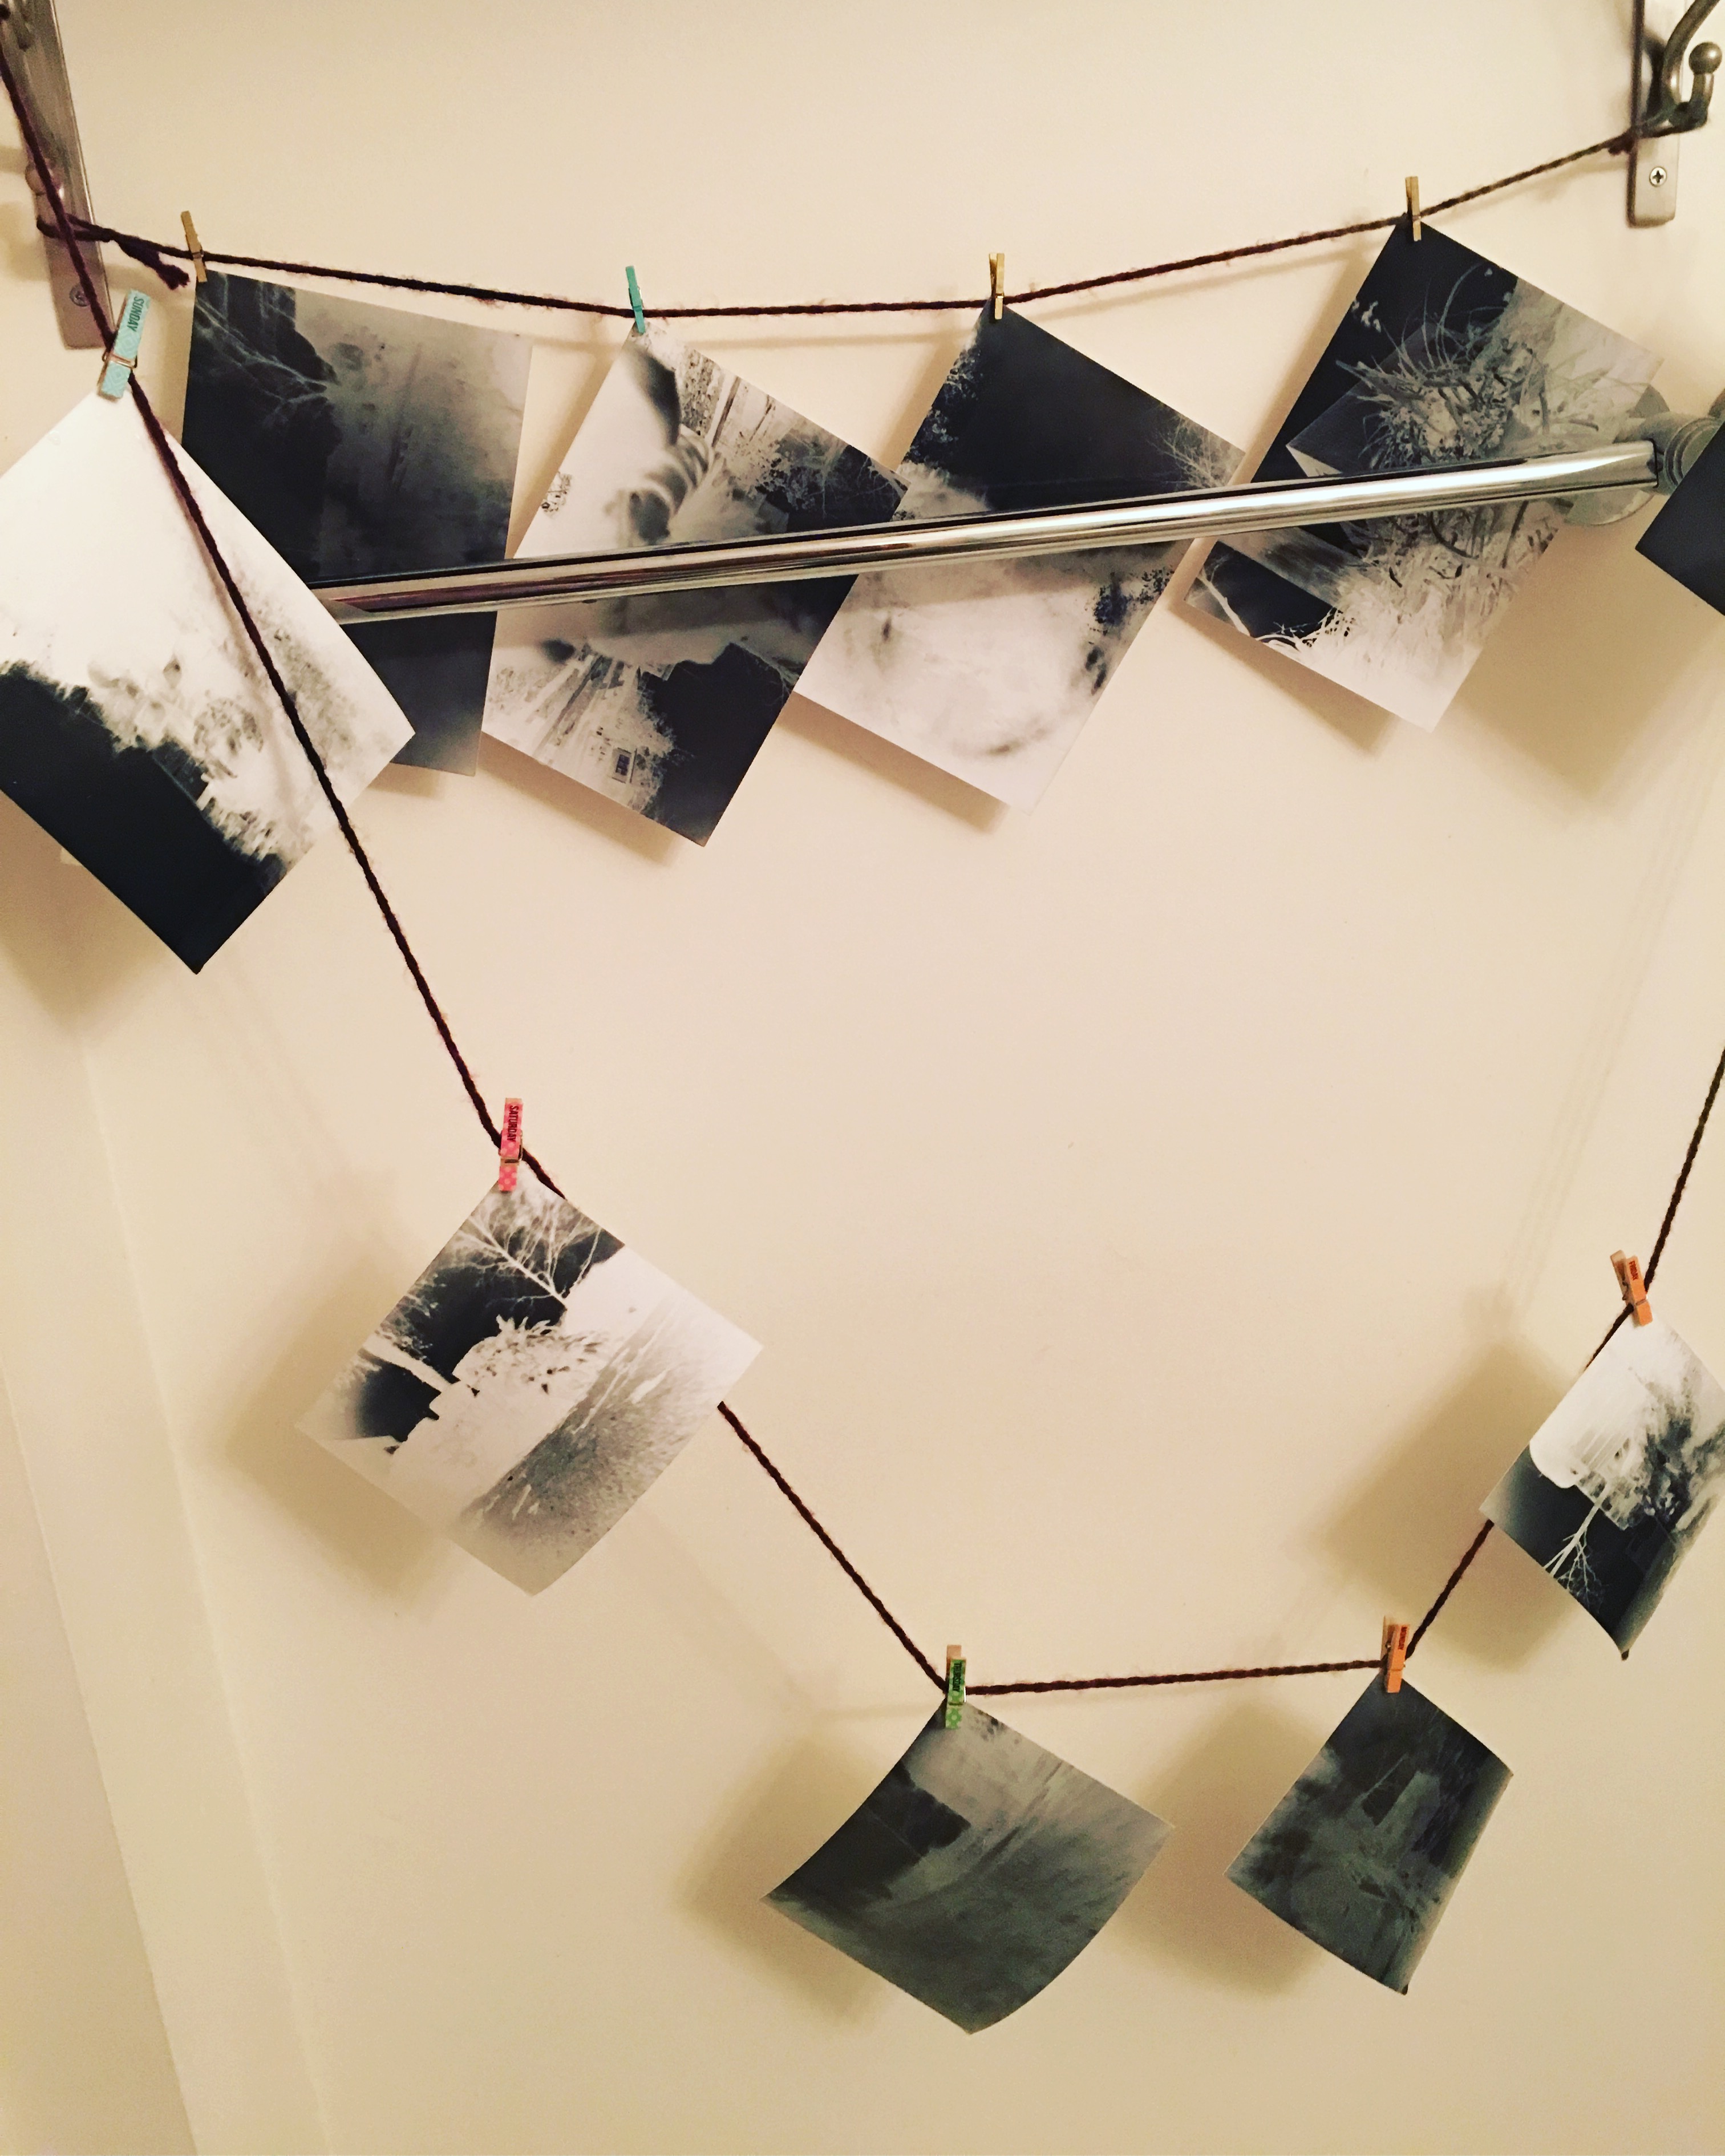 Prints hanging to be dried In the next coming post I will be posting the students pinhole paper negatives and their inverted images. Also if anyone is interested I will be making a blog post on how to aquire supplies for pinhole camera photography and sunprints.
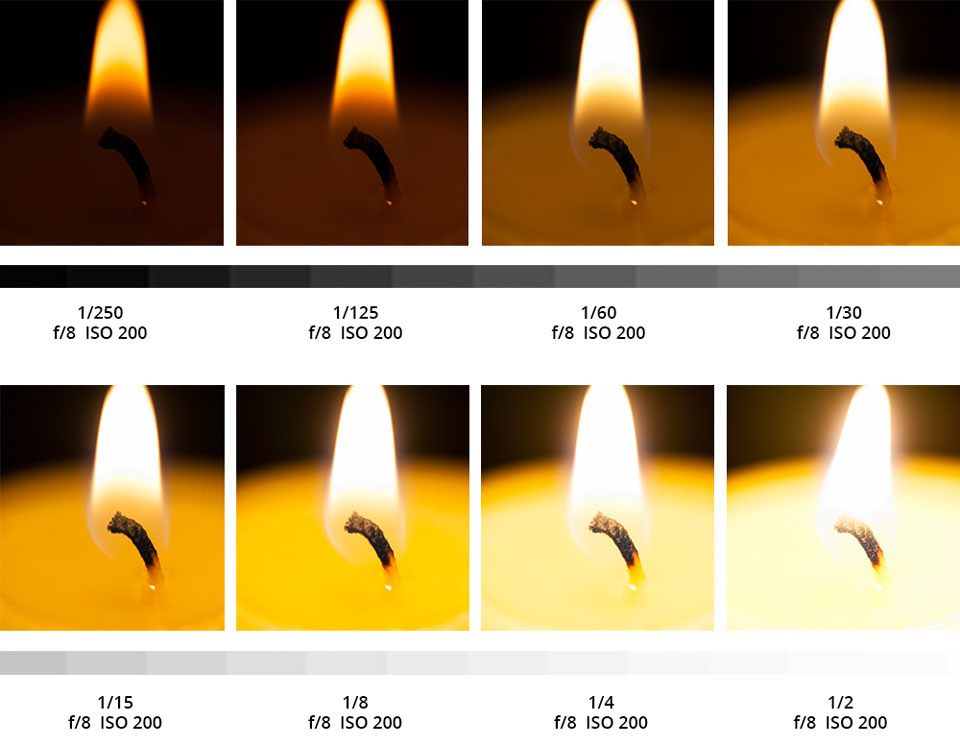
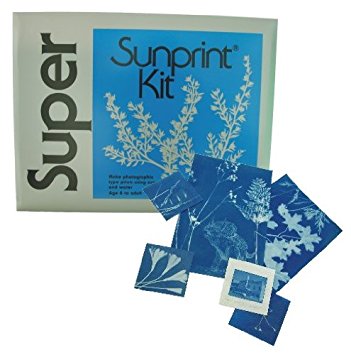
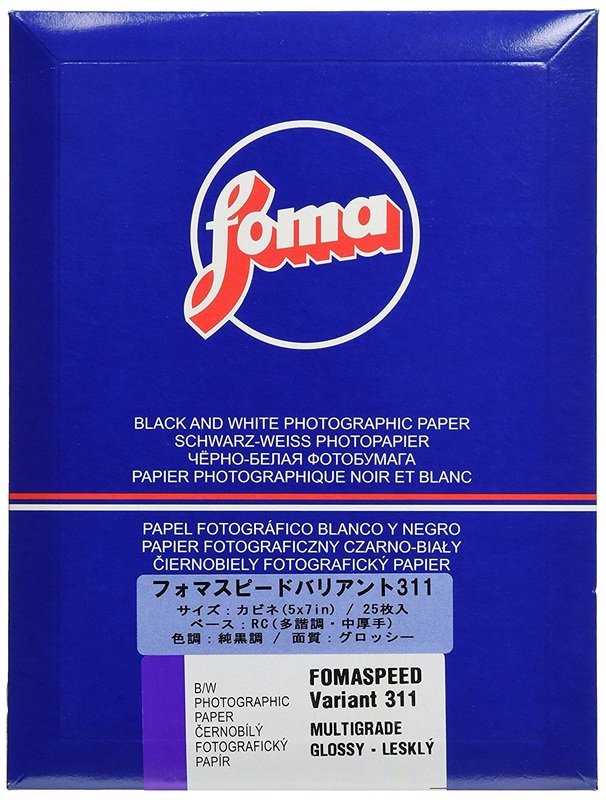
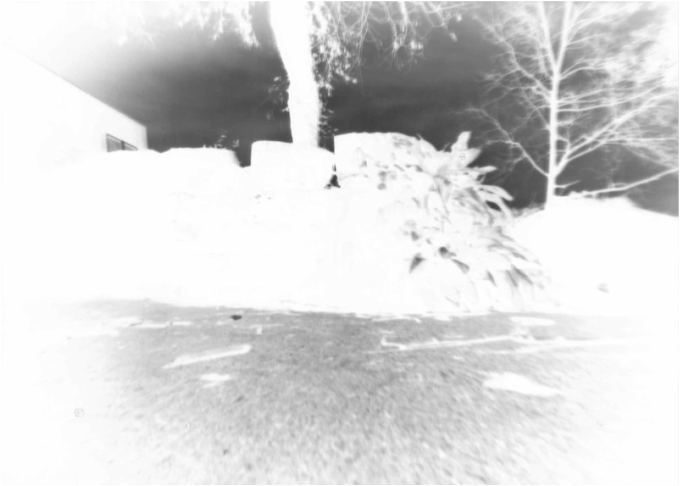
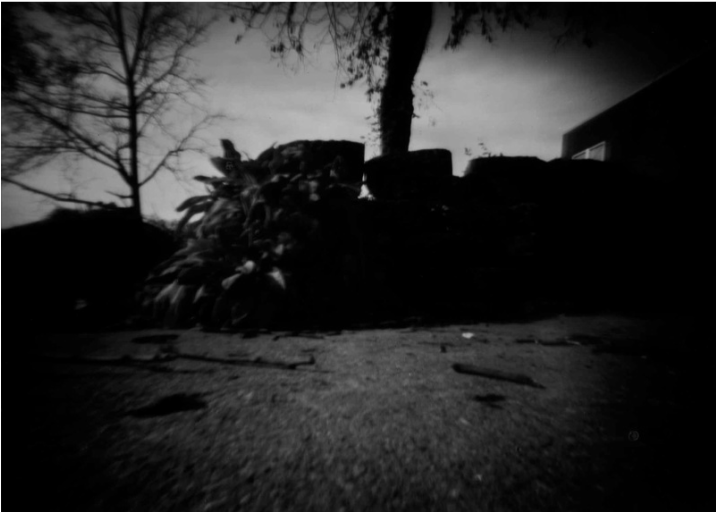
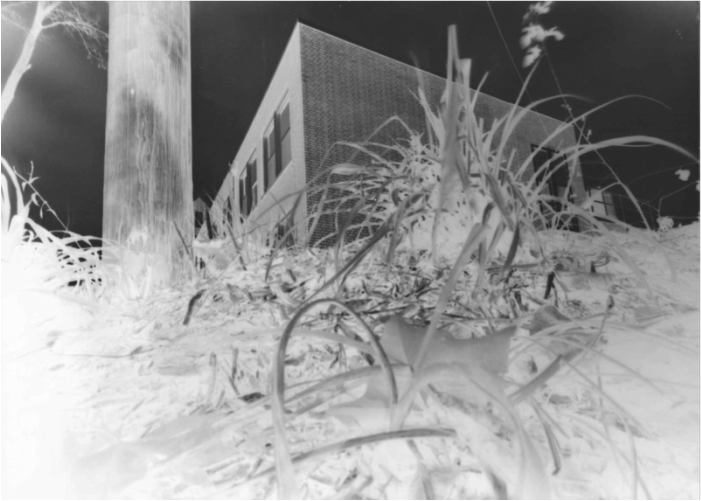
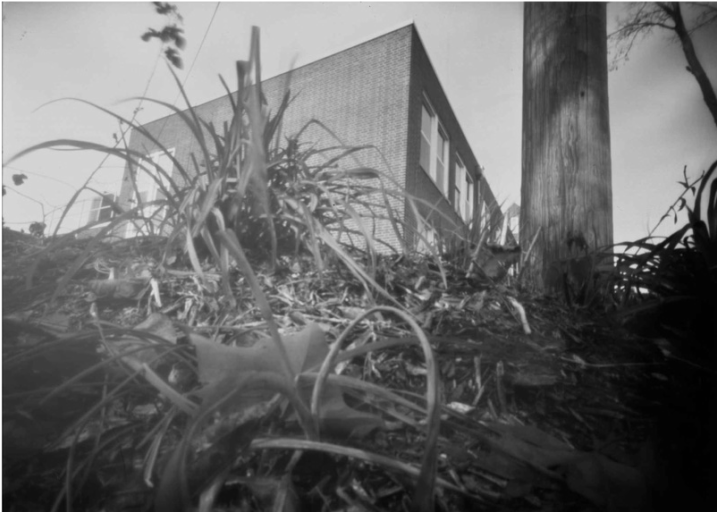
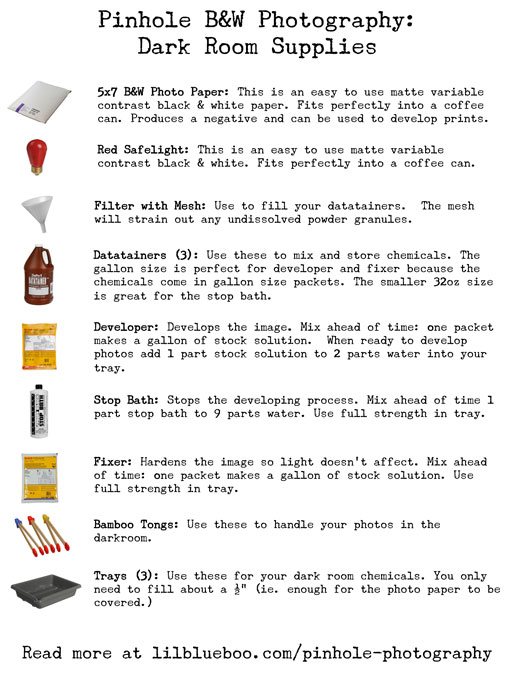
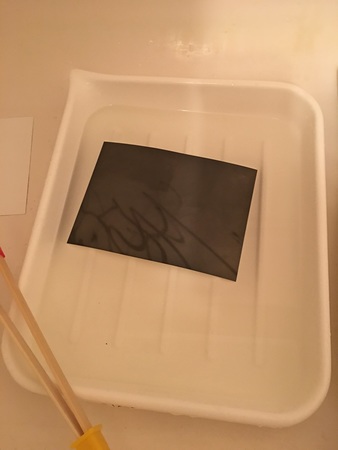
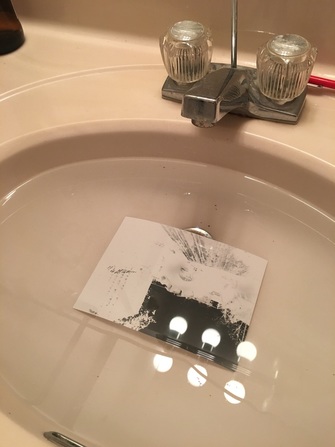
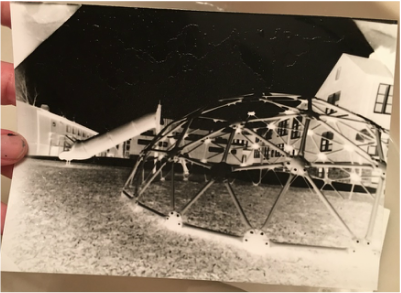
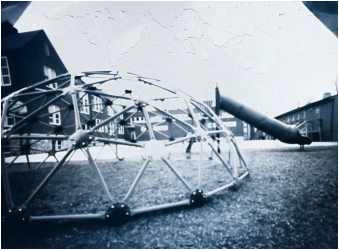
-Kippy Camera Obscuras are inexpensive to make and are a great way to look at how light travels. It also provides a glimpse of how our eyes work. A subject is illuminated outside the camera and the subject is projected through the lens and flipped over on the opposite wall. This is what happens in our eyes but our brains flip the image right side round so that we recognize the subject. 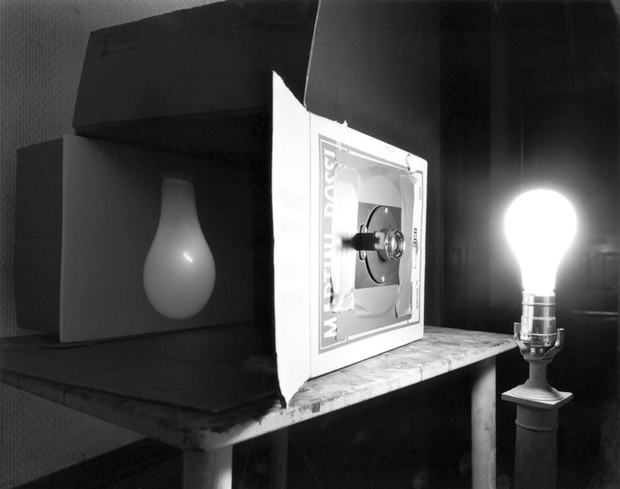 Photo by Abelardo Morell To make a pinhole camera all you need is an enclosed box/container, black paint/paper, an alluminum can, black tape, and a pin to make the lens. Ensure your container is light tight by either painting with black paint or covering completley in black paper. Cut out a square inch of the center of your container to place your lens. For your lens cut out a square inch from an alluminum can and tape it over the center hole on your container. Next, use your pin to poke one hole in the center of your alluminum piece. This is your lens. Finaly use a piece of black tape as a shutter to cover your lens. 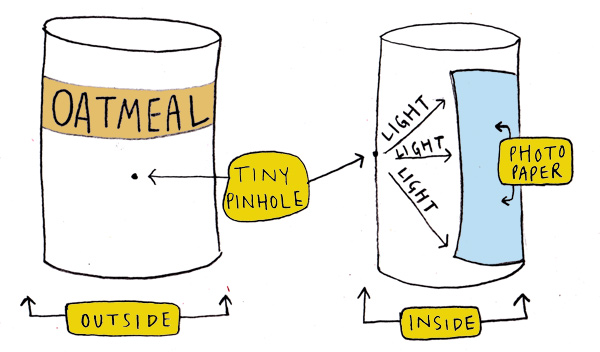 To capture an image you need photographic paper. All photographic papers consist of a light-sensitive emulsion, consisting of silver halide salts suspended in a colloidal material - usually gelatin- coated onto a paper, resin coated paper or polyester support. This paper is very light sensitive and has to be protected from light before you are ready to take the image. The paper must be loaded in a light tight room where light can't get to it. After loading the paper in your container find an image you want to take. Below is a reference guide of how long to expose the paper for a good image. 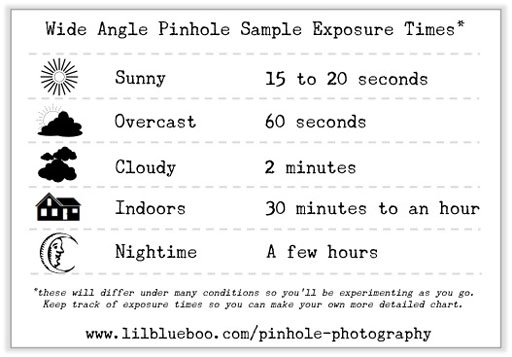 Guide borrowed from www.lilblueboo.com Once you have taken your image you must process it in darkroom chemicals to see your image. When you take a picture with a pinhole camera you are making a negative. Below on the left is what develops from the pinhole camera. You must invert it to see the positive of your negative. This can be done in the darkroom using an enlarger or digitally on the computer.
|
Author(s)The Fourth Grade teachers alongside Art Teachers at Lee Elementary contribute to this blog by sharing happenings in their individual classrooms. Archives
August 2017
Categories
All
|


 RSS Feed
